Why Is My Apple Pencil Not Working? – Here’s How to Fix It
Table of Contents Show
Pulling out your Apple Pencil to jot down a quick note or sketch, only to have it act up, can really throw you off, especially if it's a tool you rely on daily for your tasks and creative spark.
It's frustrating when tech glitches for no clear reason, especially if your Apple Pencil and iPad look perfectly fine.
Before you panic or head to Apple, pause. There's a good chance you can troubleshoot this at home with simple steps.
In this article, we'll chat about why your Apple Pencil might be acting up and I’ll walk you through easy fixes. Let's get started!
1. Ensure Bluetooth is Enabled

The Apple Pencil relies on Bluetooth to pair with your iPad, making it imperative that Bluetooth is not just enabled, but functioning correctly on your device.
So, if your Apple Pencil suddenly stops responding, the first step is to swipe into your iPad's Control Center and make sure that the Bluetooth icon is lit up. If it's not, simply tap it to turn on Bluetooth.
Ensuring Bluetooth is enabled and functioning might seem like a basic step, but it's often overlooked in the heat of the moment.
2. Recharge Your Apple Pencil
Now, if your Apple Pencil was working fine before but suddenly stopped, it’s possible that the battery drained completely without you noticing.
Give it a solid 15 to 30 minutes of charging time. Sometimes, it just needs a little more juice to kickstart again.
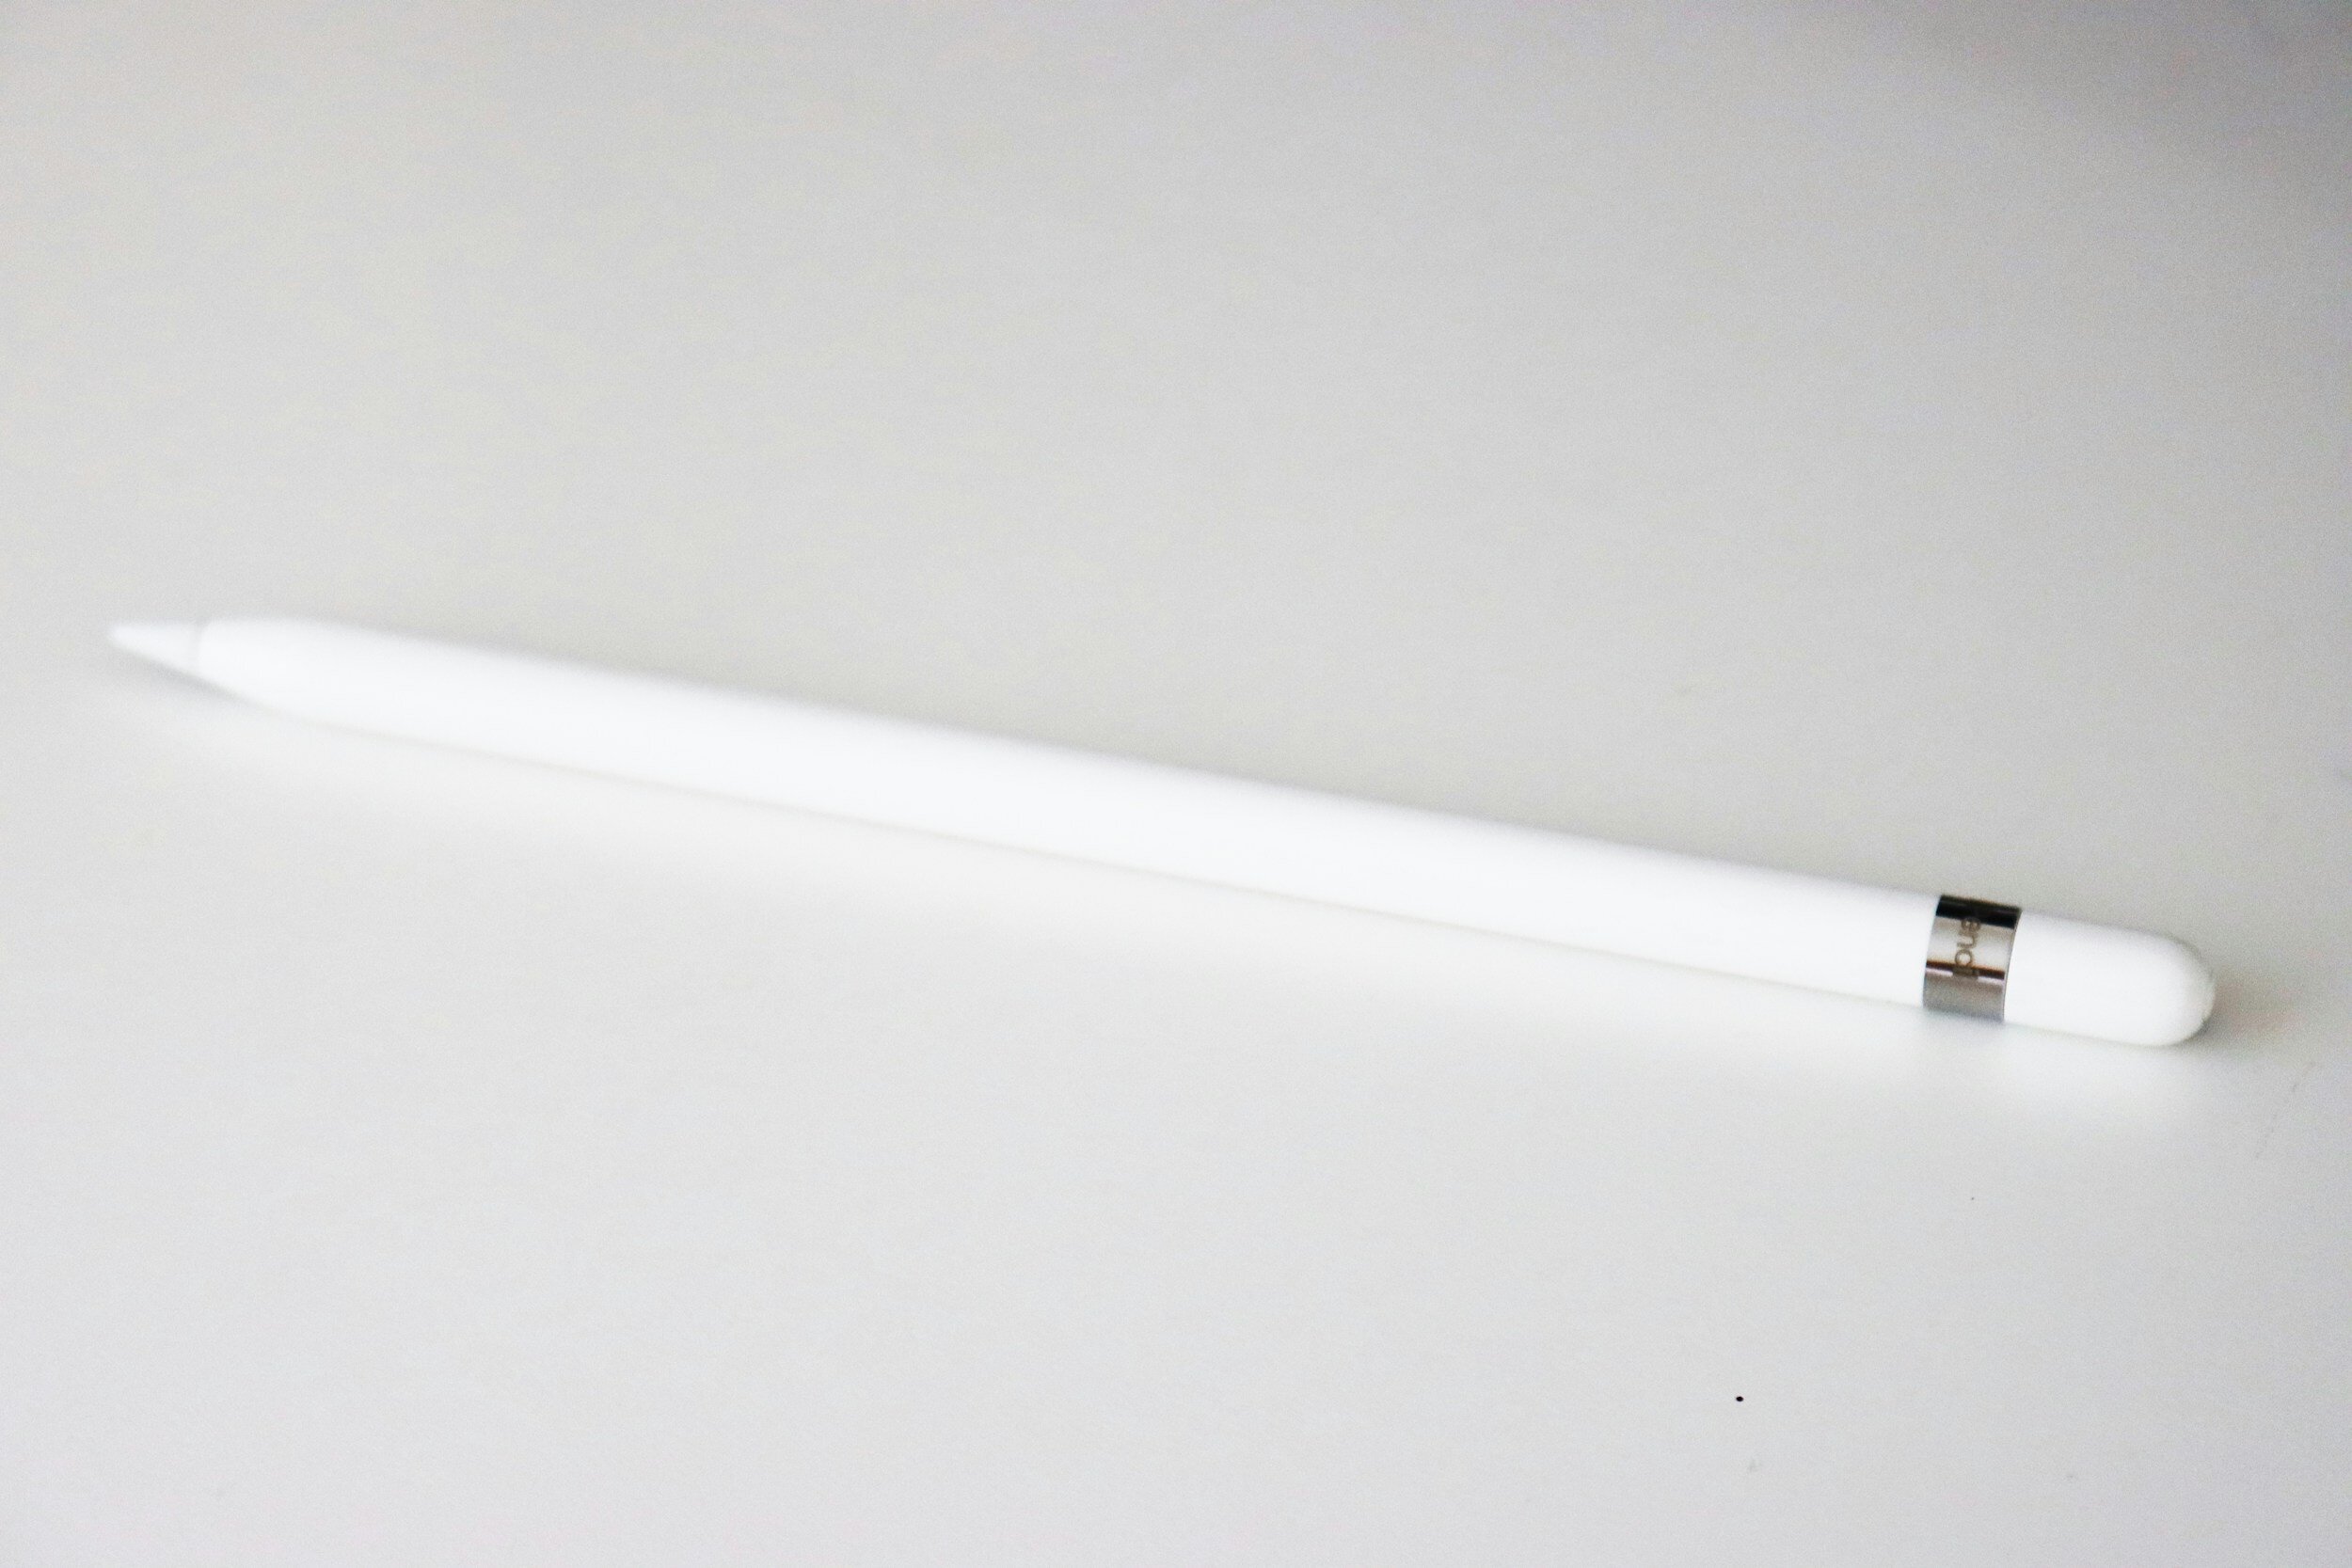
If you're using the first-generation Apple Pencil, plugging it into the Lightning connector of your iPad is the way to go.
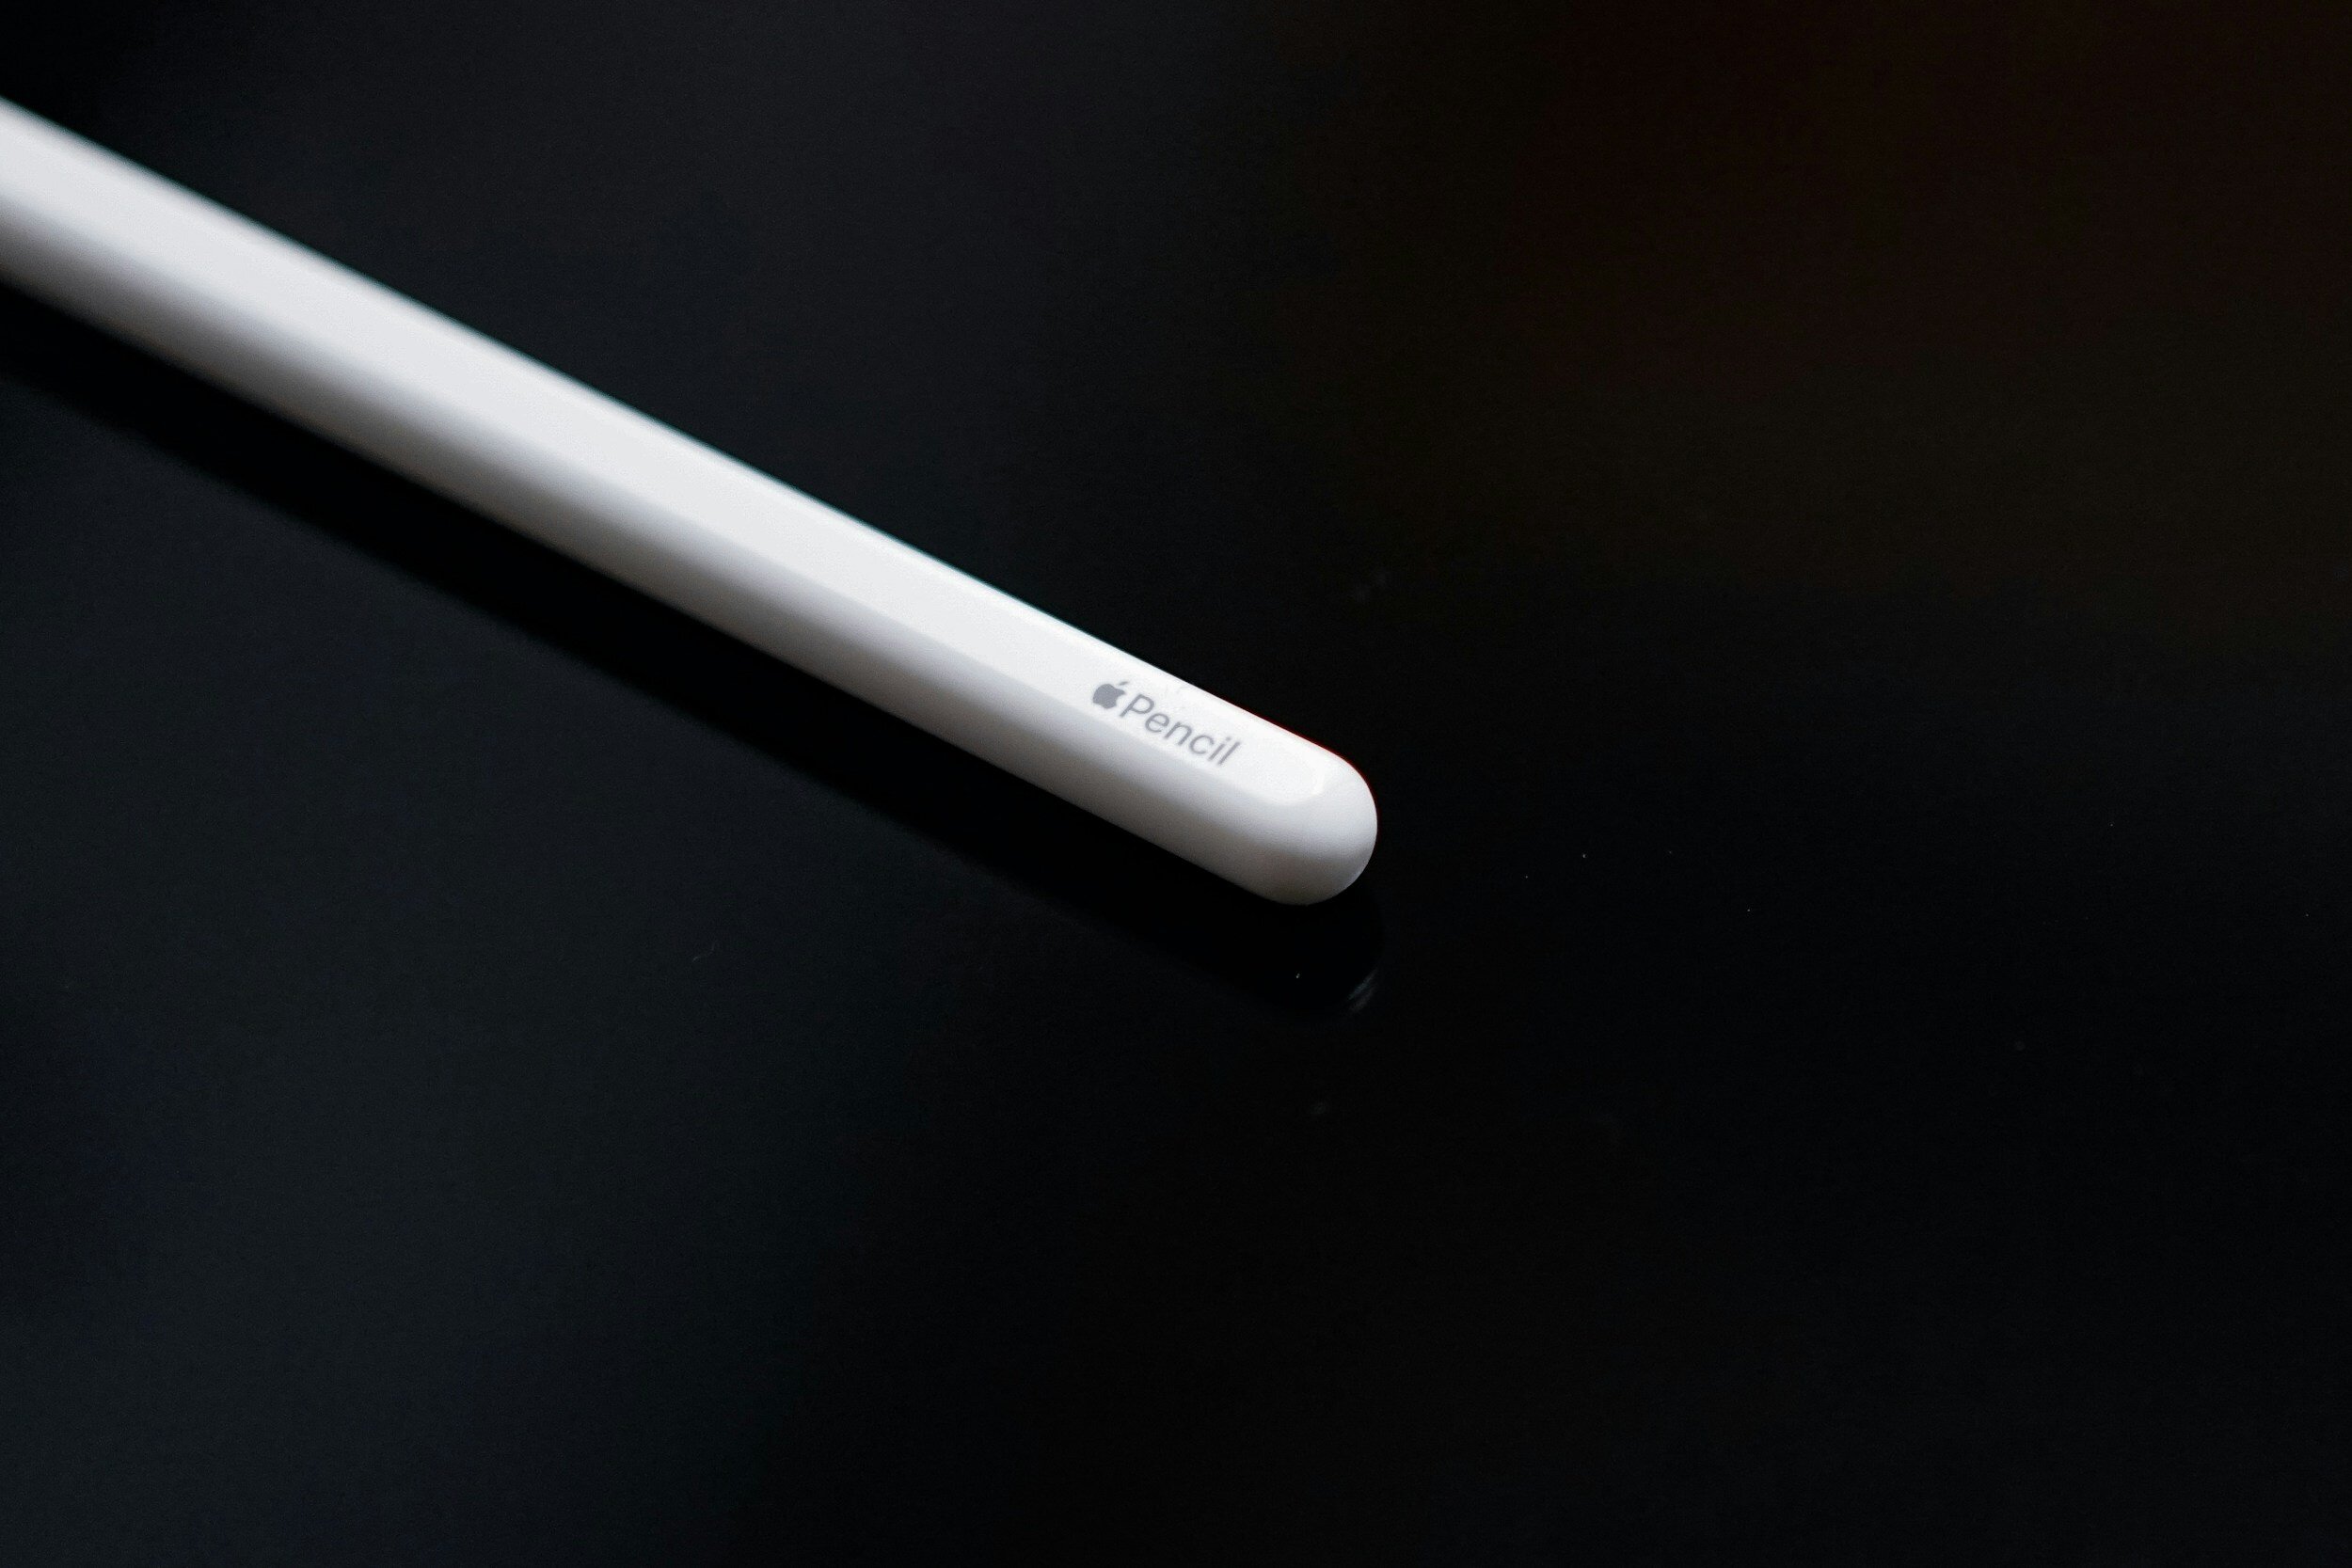
On the flip side, if you have the second-generation Apple Pencil, things get a bit more elegant. Simply attach it to the magnetic connector on the side of your iPad, near the volume buttons.
Not only does it charge the pencil, but it also pairs it with your iPad – killing two birds with one stone.
3. Restart Your iPad

The iPad is a pretty powerful gadget, but like all fancy tech, it can act up with glitches now and then. These little hiccups might mess with your Apple Pencil too.
Restarting your iPad helps clear up those temporary issues, giving your device a fresh start and fixing any unseen problems.
Here's how you can do this:
For iPads with a Home button
Press and hold the Top (or Side) button until the power off slider appears.
Drag the slider to turn your device off entirely.
After the device turns off, press and hold the Top (or Side) button again until you see the Apple logo.
For iPads without a Home button
Simultaneously press and hold the Top button and either volume button until the power off slider pops up.
Slide to shut down, and after the device powers off, press and hold the Top button until the Apple logo graces your screen.
4. Check Connection and Compatibility

When it comes to utilizing the Apple Pencil, ensuring that your device is compatible and properly connected is paramount for a seamless experience.
However, navigating the compatibility of the Apple Pencil with various iPad models can be a bit of a maze.
Here's a simplified guide to help you understand which Apple Pencil will work with your iPad.
Compatibility Overview
| Apple Pencil Version | Compatible Devices |
|---|---|
| Apple Pencil (1st generation) |
iPad Pro 12.9-inch (1st & 2nd gen) iPad Pro 10.5-inch iPad Pro 9.7-inch iPad Air (3rd gen) iPad (6th, 7th, 8th, 9th, & 10th* gen) iPad mini (5th gen) * A USB-C to Apple Pencil Adapter is required |
| Apple Pencil (2nd generation) |
iPad Pro 12.9-inch (3rd, 4th, 5th, & 6th gen) iPad Pro 11-inch (1st, 2nd, 3rd, & 4th gen) iPad Air (4th & 5th gen) iPad mini (6th gen) |
| Apple Pencil (USB-C) |
iPad Pro 12.9-inch (3rd, 4th, 5th, & 6th gen) iPad Pro 11-inch (1st, 2nd, 3rd, & 4th gen) iPad Air (4th & 5th gen) iPad (10th gen) iPad mini (6th gen) |
Connecting Your Apple Pencil
Connecting your Apple Pencil to your iPad also depends on the generation of your pencil and iPad model.
Apple Pencil (2nd Generation)
For those who have the sleek Apple Pencil (2nd generation), follow these steps to connect it to your iPad:
Locate the Magnetic Connector
Find the magnetic connector on the side of your iPad.
It's usually near the volume buttons.
Attach the Pencil
Place your Apple Pencil (2nd generation) on the magnetic connector.
The flat side of the pencil should align with the magnetic charging strip.
Wait for the Pairing Notification
A pairing notification will appear on your iPad's screen.
Tap "Pair" to complete the connection process.
This method serves as both a way to pair your device and a convenient charging solution.
Apple Pencil (1st Generation)
If you're using the classic Apple Pencil (1st generation), here's how to connect it to compatible iPad models:
Remove the Cap
Gently remove the cap at the end of your Apple Pencil to reveal the Lightning connector.
Plug into iPad's Lightning Port
Insert the Apple Pencil's Lightning connector into your iPad's Lightning port.
Pair Your Devices
A pairing notification will pop up on your iPad.
Tap "Pair" to finalize the connection.
For iPad (10th generation) users, an additional step is required due to the change in charging ports:
Use the USB-C to Apple Pencil Adapter
Connect your Apple Pencil's Lightning connector to the USB-C to Apple Pencil Adapter, then plug the adapter into the iPad's USB-C port to pair and charge.
Apple Pencil (USB-C)
The latest addition to the Apple Pencil family, the USB-C model, simplifies the connection process for iPads with USB-C ports.
Here's how to connect it:
Direct Connection
Unlike its predecessors, the Apple Pencil with USB-C does not require an adapter for the latest iPad models.
Simply plug the Apple Pencil directly into the iPad's USB-C port.
Pairing Notification
Upon connecting, a notification will appear on your iPad's screen.
Select "Pair" to complete the connection.
This direct connection method not only pairs your Apple Pencil with your iPad but also charges it.
5. Forget and Re-pair the Apple Pencil

If you've charged your pencil and ensured it's not a software issue but still find yourself stuck, then it's time we talk about the "Forget and Re-pair the Device" method.
Step 1: Forget the Apple Pencil
Dive into your iPad’s settings and navigate to the Bluetooth section.
Here, you'll find a list of devices your iPad has previously connected to.
Tap on the info icon next to your Apple Pencil and select "Forget This Device."
Confirm your choice, and just like that, your Apple Pencil is no longer paired with your iPad.
Step 2: Restart Your iPad
Before you rush into re-pairing, give your iPad a quick restart.
This helps clear any minor glitches in the system that could be affecting Bluetooth connectivity.
A simple restart can do wonders, clearing the path for a smooth re-pairing process.
Step 3: Re-pair Your Apple Pencil
Now, for the moment of truth. If you're using a first-generation Apple Pencil or the Apple Pencil with USB-C, plug it into the Lightning/USB-C connector of your iPad.
For the second-generation Apple Pencil, attach it to the magnetic connector on the side of your iPad.
A pairing request should pop up – if it does, accept it, and voilà, you’re reconnected.
Why Does This Work?
Forgetting and re-pairing addresses potential communication issues that aren’t always visible on the surface.
It’s a bit like rebooting your WiFi router when the internet slows down. You may not understand what went wrong, but restarting the connection often fixes the problem.
6. Update Your iPad

If your Apple Pencil suddenly stops working, it's easy to jump to hardware conclusions.
But before you start troubleshooting the physical aspects, check if there's an update available for your iPad's operating system.
According to a thread on Apple Discussions, some users found their Apple Pencil no longer worked after a recent software update.
This indicates that sometimes the issue isn't with the pencil itself but with the software it needs to interact with.
How to Update Your iPad
Updating your iPad's operating system is a straightforward process but one that bears repeating.
Open Settings App
Find and tap on the Settings app on your iPad's home screen.
Navigate to General
Within the Settings menu, find and select "General" to access general system settings.
Select Software Update
Inside the General settings, tap on "Software Update."
This will prompt your device to check for available updates.
Download the Update
If an update is available, you'll see an option to "Download and Install."
Tap on it to begin the process. If you don't see an update, your iPadOS is already up to date.
Connect to Wi-Fi
Before starting the download, ensure your iPad is connected to a Wi-Fi network.
This is necessary as software updates are often large files.
Plug Into Power Source
It's a good idea to connect your iPad to a charger during the update process.
This ensures that your device won't run out of battery before the update is completed.
Install the Update
After the download is complete, tap "Install" to update your iPadOS.
If you're not ready to install right away, you can select "Later."
iOS might ask if you want to install the update overnight; just remember to plug in your iPad before you go to sleep.
Enter Passcode if Prompted
If your iPad asks for your passcode, enter it to proceed with the installation.
After the Update
Once your iPad is up to date, it's time to give your Apple Pencil another shot. Pair it with your iPad again and check if the problem persists.
Keep in mind, updates can sometimes change settings or the way devices interact, so re-pairing after an update is a good practice.
7. Check the Nib of Your Apple Pencil

Now, if your Apple Pencil starts acting up, feeling less precise, or you notice it's not registering your strokes accurately, the nib might be loose.
This is something that can happen over time with regular use, but it's an easy fix.
Gently hold the nib between your fingers and turn it clockwise until it feels snug against the body of the pencil.
It's essential not to over-tighten, as this could cause damage. Just a firm twist until it stops moving freely should do the trick.
Time for a Nib Refresh?
Now, if your Apple Pencil's performance has dipped and tightening the nib didn't help, it might be time to replace it.
Regular usage can wear down the nib, affecting its sensitivity and making your interactions with the iPad feel off.
The good news is, replacing the nib is a straightforward process.
Remove the Old Nib
Gently hold the existing nib between your fingers and twist it counterclockwise.
Continue turning until the nib loosens and detaches from the body of the Apple Pencil.
Attach the New Nib
Take your replacement nib (the first generation Apple Pencil comes with one spare nib included in the box) and align it with the threads on the pencil.
Twist it clockwise until it feels secure. Be mindful not to overtighten; stop when you encounter resistance to avoid damaging the new nib or the pencil.
Just a heads up about the Apple Pencil accessories across different generations:
The first Apple Pencil comes with an extra tip in the box for quick replacement.
But, with the second gen or newer models with USB-C, no spare tips are included.
You'll have to buy replacement nibs separately if you need one.
I'd suggest getting them on Amazon since they're often cheaper than buying directly from Apple.
8. Contact Apple Support

None of the steps above solved the issue? Then it’s probably best to contact Apple Support.
Apple has made it incredibly easy to reach out for help through multiple channels.
Whether you prefer a direct phone call, a chat session, or even an email, Apple's got you covered.
The key here is to choose the method that suits your schedule and preference.
Phone Support
For those who prefer talking to a human, Apple offers phone support.
In the U.S., you can dial 1-800-275-2273. This line connects you to a technical support team ready to tackle your issues.
For international users, Apple's website lists all worldwide support telephone numbers, ensuring you're never too far away from help.
Chat and Email Support
If you're more comfortable typing out your problems, Apple's chat and email support might be right up your alley.
You can initiate these services through the official Apple Support page. This method is particularly useful if you're multitasking or if you need to share screenshots of your issue.
Genius Bar Appointments
Sometimes, you just need that face-to-face interaction to get to the bottom of an issue.
Making a Genius Bar appointment is straightforward through Apple's support page.
This option is ideal for when you suspect the problem might be hardware-related, or if you've tried troubleshooting at home with no luck.
Conclusion
So, there you have it! I hope this guide was helpful and got your Apple Pencil up and running smoothly again.
Now, it's over to you. Have you encountered this hiccup with your Apple Pencil? Did the support paths I mentioned help you out, or did you discover a different trick to get your digital pen back in action? Your experiences are valuable, and I'm all ears to hear from you.
Feel free to drop your stories and insights in the comments below, or pop by my social media accounts. Let's keep this conversation going.
Oh, and if you haven't subscribed to my newsletter yet, here's your invite. It's full of the latest tech updates, in-depth reviews, and all the tech news you don't want to miss.
Catch you later. Thank you very much for reading!
FAQ
-
There could be several reasons, including battery depletion, connectivity issues, or hardware malfunctions.
Start with charging your Apple Pencil and ensuring it's properly paired with your iPad.
-
For the 1st generation Apple Pencil and the Apple Pencil USB-C, remove the cap and plug it into the Lightning connector on your iPad.
For the 2nd generation, attach it magnetically to the side of your iPad Pro.
-
To check the battery level, add the Batteries widget to your iPad's Today View.
It will display the current charge level of both your iPad and Apple Pencil.
-
Try unpairing and then re-pairing your Apple Pencil with your iPad.
Go to Settings > Bluetooth, find your Apple Pencil, tap the "i" icon, and select "Forget This Device."
Then, reconnect the Apple Pencil.
-
Yes, the tip of the Apple Pencil can wear down over time and affect its performance.
Gently unscrew the tip and replace it with a new one.
The 1st generation Apple Pencil comes with an extra tip, or you can purchase replacements.
-
The Apple Pencil can last about 12 hours on a full charge.
However, battery life may vary based on usage patterns.
-
Ensure that your iPad's Bluetooth is always on and that the Apple Pencil stays close to your iPad.
Avoid putting your iPad in Airplane Mode, as this disables Bluetooth.
-
If the tip feels loose, try tightening it by turning it clockwise until it's securely attached.
If it continues to feel loose, consider replacing the tip.
MOST POPULAR


LATEST ARTICLES